 In Using VideoReDo TVSuite on a Mac I talked about a good work flow you can use to capture, on your Mac, TV shows recorded on your TiVo DVR, then edit out their commercials. You can then, using software like VisualHub, convert them and store them on your Mac for use by iTunes, by Front Row, and by your Apple TV.
One of the essential pieces of the puzzle was the $79.99 Parallels Desktop for Mac package.
Parallels is a must because Macs don't usually run Windows, and the VideoReDo TVSuite software which is so good at editing commercials out of programs needs Windows. Parallels lets you run Windows XP on any Intel-based Mac, without rebooting the Mac. That means you can have Windows running in its own window while you continue to use your Mac as you would normally do.
You install Parallels Desktop 3.0 for Mac on your Intel-based Mac as an ordinary application. Then, upon launching it for the first time, you enter a valid activation key and optionally register the product. Those messy details taken care of, you will perform what is called an Express Installation of Windows XP. (You can do something similar if you want to use Windows Vista.)
For your express (i.e., fast) Windows XP installation you will, of course, need to have in hand a complete, fully licensed copy of Windows XP. You may use either an installation CD per se or an ISO image of the installation CD.
A good way to find out exactly what you need to do to install Windows in a brand-new Parallels setup is, after you have launched Parallels but before you have tried to do your Windows installation, select Quick Start Guide in the Parallels Desktop Help menu.
Because you have a virgin Parallels environment at this early point, what you should see when you start Parallels is a dialog designed to let you select which "virtual machine" Parallels is to use. A virtual machine, or VM, is a Windows-type computer emulated in software, with all of the hardware, software, and networking features of you Mac "mapped into," respectively, the hardware, software, and networking features of the VM.
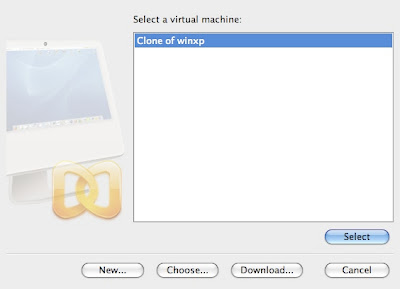
In the above screen shot, I already have a VM which I can choose to use, Clone of winxp. In your case, the list of VMs will be empty, and you will click New... to bring up:
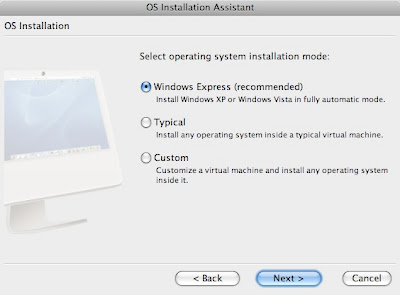
(If you see an Introduction panel instead, just click Next >.) This is where you are going to specify that you are doing a Windows Express installation.
In the next pane you will choose between Windows XP and Windows Vista:
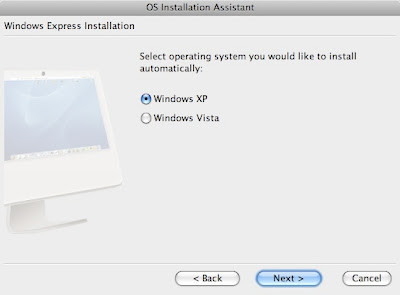
Unless you have Vista, select Windows XP.
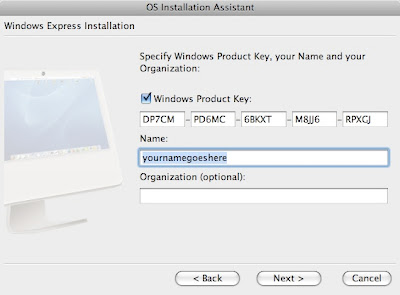
Next you have to specify a valid product key for Windows XP, along with a user name for your first Windows user account:
In the next pane you name your Windows XP virtual machine and select options for how it will run Windows XP:
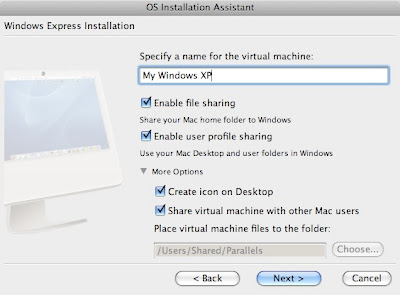
Here I show what the pane looks like if you want to share your Mac account's Home folder, share your Mac Desktop, and share your various Mac user folders in Windows. (If you don't select these options now, you can always do so later on by editing your virtual machine's configuration in the Configuration Editor. This is something you can do in Parallels after you have launched the VM but before you have started Windows in that VM.)
I have also elected to create an icon on the Desktop by means of which to launch the VM. I am here intending to share this VM with other Mac users — which means that the Mac file containing the VM is automatically placed in the /Users/Shared/Parallels folder on the Mac — so that option is checked as well.
In the next pane you indicate whether you want to set things up for the best possible performance of your virtual Windows machine, or else you prefer that the performance of Mac OS X applications be optimized at the expense of Windows applications:
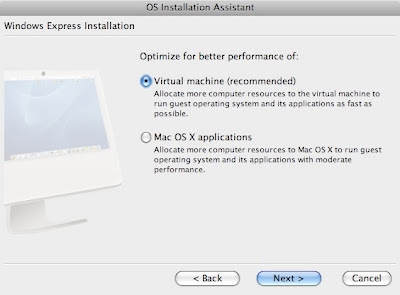
I suggest you optimize for Windows by selecting Virtual machine.
Finally, you arrive at a pane asking you to insert your Windows XP CD into your Mac's optical drive:
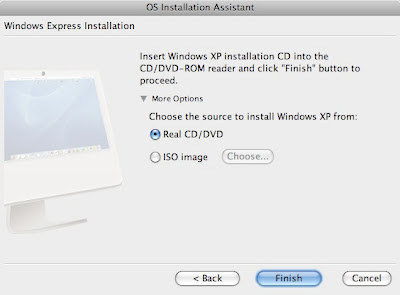
When you click Finish, over the course of about an hour your virtual machine is going to be created with Windows XP installed in it, ready to use.
As the Windows install process proceeds, you will see it unfolding inside the Parallels window just as it would unfold on the monitor of a real Windows PC.
As things proceed, you may see a Windows security alert, during the install process, which tells you that there is an attempt under way to install "driver software" that Windows cannot identify. You need to choose the Install this driver software anyway option.
After the Windows operating system has been fully installed, something called Parallels Tools is also installed in your newly created virtual machine. (You'll need to confirm Parallels Tools installation, when prompted.) Parallels Tools consists of a set of resources that act as aids to the smoothest possible integration of Windows with your Mac. For example, one of the resources in Parallels Tools allows seamless synchronization between the clipboard in Windows and that of the Mac.
You should not even consider running Windows in Parallels without having Parallels Tools installed. If for some reason you don't install Parallels Tools at this point, you can always do so later while Parallels is actually running Windows.
The Parallels Desktop for Mac Quick Start Guide gives further details about how to wind up the initial installation process.
From then on, whenever you launch the Parallels application you'll see something like this:
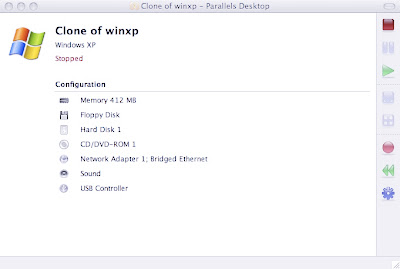
(This is what the Parallels window looks like for my Clone of winxp VM when that virtual machine is stopped. Yours might be called something like My Windows XP instead.) If you click on the rightward-pointing green triangle, the VM starts and Windows starts up as well. You'll see something like this when Windows is ready to have you log on as a Windows user:
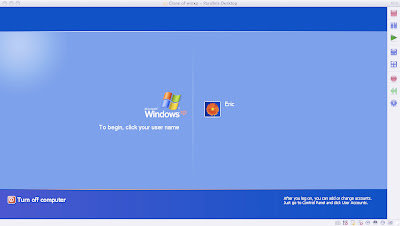
You just click on the user name icon with your (white arrow, not black) mouse pointer, and (after entering a password, if applicable) voilà:
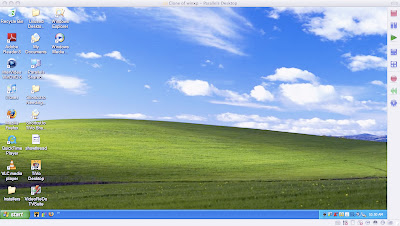
Actually, to get it all just the way you want it, you'll probably need to visit the Configuration Editor, available from the Edit menu in Parallels whenever the VM is not running. If you want to edit the configuration while the VM is running Windows, you'll have to log out of Windows and stop the VM. See the Parallels Quick Start Guide for more on how to do those things.
Here, I'm using the Configuration Editor to set the resolution of my virtual "monitor" (under the Video resource) to 1280x800:
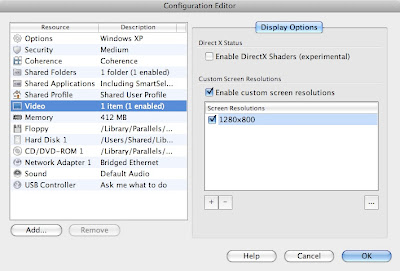
Among the other resources you may want to edit the configuration of are Shared Folders (what folders/disks on your Mac can be accessed fron Windows) and Memory (how big the memory size of your virtual machine is).
Once you are running Windows in your VM, you can pretend you have a real Windows PC. That means you can do things like find, buy, and download software for it:
- a web browser such as Firefox, to locate other software you need (use the default browser that comes with Windows for this)
- TiVo Desktop, to capture TV recordings from your TiVo
- VideoReDo TVSuite, to edit out commercials and save the edited recordings
The software downloads are stored as files on your VM, usually on the Windows Desktop. They typically have to be double-clicked on to unzip them, once downloading them has completed, after which you can fire up the installer file contained therein. The process is much like installing downloaded software on a Mac ... except that, this time, the software is being installed on your brand-new (virtual) Windows machine!
No comments:
Post a Comment